Architectural Model Making – Model Bases + Scale : An Architect’s Guide (part 4)
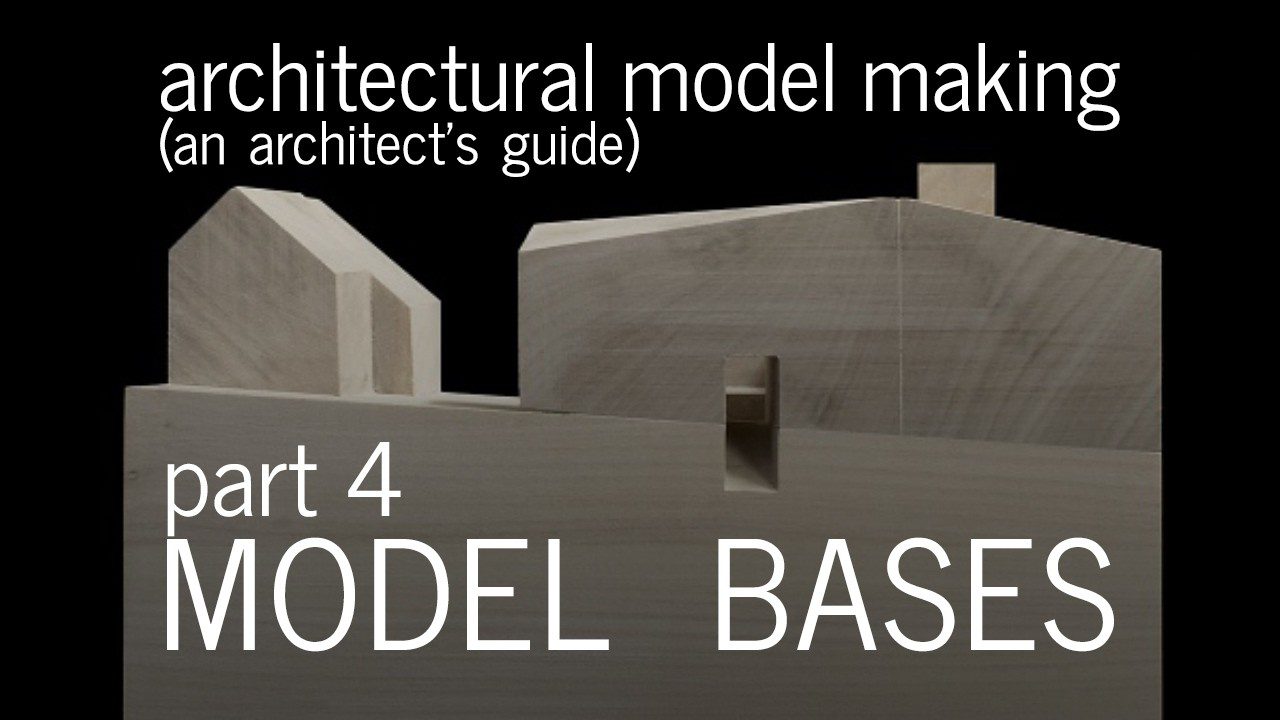
In part 4 of the model making series, I focus on model bases following a brief primer on choosing a scale for your model. I also describe a tweak you can implement that will make your models not only more convincing but is sure to inspire new design ideas.
Scale and the amount of the building’s site you’d like to show will determine the actual finished size of your model. Keeping models to a manageable size will make the entire building process faster, more enjoyable and less resource intensive. Decide how much of the surrounding context is important and choose sensible bounds for your project’s extents. If your structure references or relates to specific site features include them, if they’re not important, don’t.
Small scale models those in the 1:500 all the way up to 1/16”=1’-0” are typically used to display exterior form and determine a building’s shape or how it interacts with the setting – the site, other structures, highways or public spaces. These models describe broad brush architectural form-making. At the other end of the spectrum, architects might use large scale models to look closely at daylighting conditions or specific material connections, stairs, windows, or an important structural detail. Larger scale models permit one to more easily envision the real experience of space, what skylights might do for a room, or how it might feel to walk on a glass cantilevered floor.
For my custom residential work, I’ll often build 1/8” and ¼” scale models – depending on the level of detail required, what design phase I’m in, what I’m hoping to show, or what I’m trying to resolve. Early design decisions – building forms for example – are better resolved at smaller scales, while details and fenestration are more easily tested at ¼” scale. Use the size of your building to determine the scale you’ll build. For residential design, anything smaller than 1/8” isn’t a useful design tool.
Model bases are necessary and practical extensions of your architectural model. They anchor your model in space and provide context. Like a picture frame, a good base completes the model, emphasizing what’s important and – even simple abstract ones – clarify design motives. The visual weight of earth represented by a strong base is more convincing than a structure glued to a floating plane because it sets the scale of the architecture in proper proportion to the enormous and uninterrupted mass of the ground we’re accustomed to.
Think too of the base as an extrapolation of the model’s intent and design vision. All sites have sectional components architecture must address. This can be changes in elevation, topography, public infrastructure connections (subways, pedestrian walks), and always a foundation. Sites are rarely flat and so I encourage you to conceptualize your model base in layers rather than how most new model builders treat the ground plane as the bottom of the model. This rather unrealistic representation has the effect of depicting the world as flat and of limited dimension.
I discuss in detail: contour models, urban models, rendering context including trees and vegetation. We look at color versus monochromatic models and I offer a few tips on how to achieve the effects shown in the video.
Always remember that your model’s base should be congruent with the level of resolution of your model. An unarticulated cardboard rectangle representing your structure in a realistically rendered site will leave the jury thinking you spent more time replicating reality than you did designing your project. Always opt for the opposite and spend more time on your architectural model than the surrounding environment.
// GEAR I USE //
DSLR CAMERA:
* Canon 70D: 在家DIY的最佳美甲://amzn.to/29klz7k
LENSES:
* Canon 24mm f2.8 Lens: 在家DIY的最佳美甲://amzn.to/29l7ac5
* Canon 40mm f2.8 Lens: 在家DIY的最佳美甲://amzn.to/29x2QcI
AUDIO:
* Rode VideoMic Pro (hotshoe mtd.): 在家DIY的最佳美甲://amzn.to/29qlNM3
* ATR-2100 USB (dynamic mic): 在家DIY的最佳美甲://amzn.to/2dFDaKp
ARCHITECTURE GEAR:
* Prismacolor Markers: 在家DIY的最佳美甲://thirtybyforty.com/markers
* Timelapse Camera: 在家DIY的最佳美甲://thirtybyforty.com/brinno
* AutoCAD LT: 在家DIY的最佳美甲://amzn.to/2dxjMDH
* SketchUp PRO: 在家DIY的最佳美甲://amzn.to/2cRcojz
* HP T120 Plotter: 在家DIY的最佳美甲://amzn.to/2dBGf1O
* Adobe CC Photography (Photoshop/Lightroom) Plan: 在家DIY的最佳美甲://amzn.to/2dhq5ap
STARTUP TOOLKIT:
* Architect + Entrepreneur Startup Toolkit: 在家DIY的最佳美甲://thirtybyforty.com/SPL
-~-~~-~~~-~~-~-
Please watch: “制作场地模型 – 前哨项目”
-~-~~-~~~-~~-~-


